


So you’ve brought your domain name, hooked up hosting and created a brand new email address. You’ve been using the online email portal for a while but you hate the fact you can’t just answer emails on the go and keep missing that important lead.
Fear not! Today we are going to learn how to set up your email account on your Apple iPhone using in native mail app. You can use any mail app for this however the set up steps may be slightly different.
For this guide we’ll assume you are using standard shared hosting or something similar and already have an email configured.
You’ll need a few things to get started. These can normally be found in your hosting control panel, welcome letters or just ask your web developer / email provider they’ll happily send them over, these are call IMAP settings.
- Email address / username
- Email password
- Incoming mail server
- Outgoing mail server
Your incoming & outgoing mail severs are normally mail.yourdomain.co.uk for example ours would be as follows
Incoming mail server: mail.creativescript.co.uk
Outgoing mail server: mail.creativescript.co.uk
Now you’ve got your details let’s get started setting up IMAP email on Apple iPhone iOS Mail App.
Step 1:
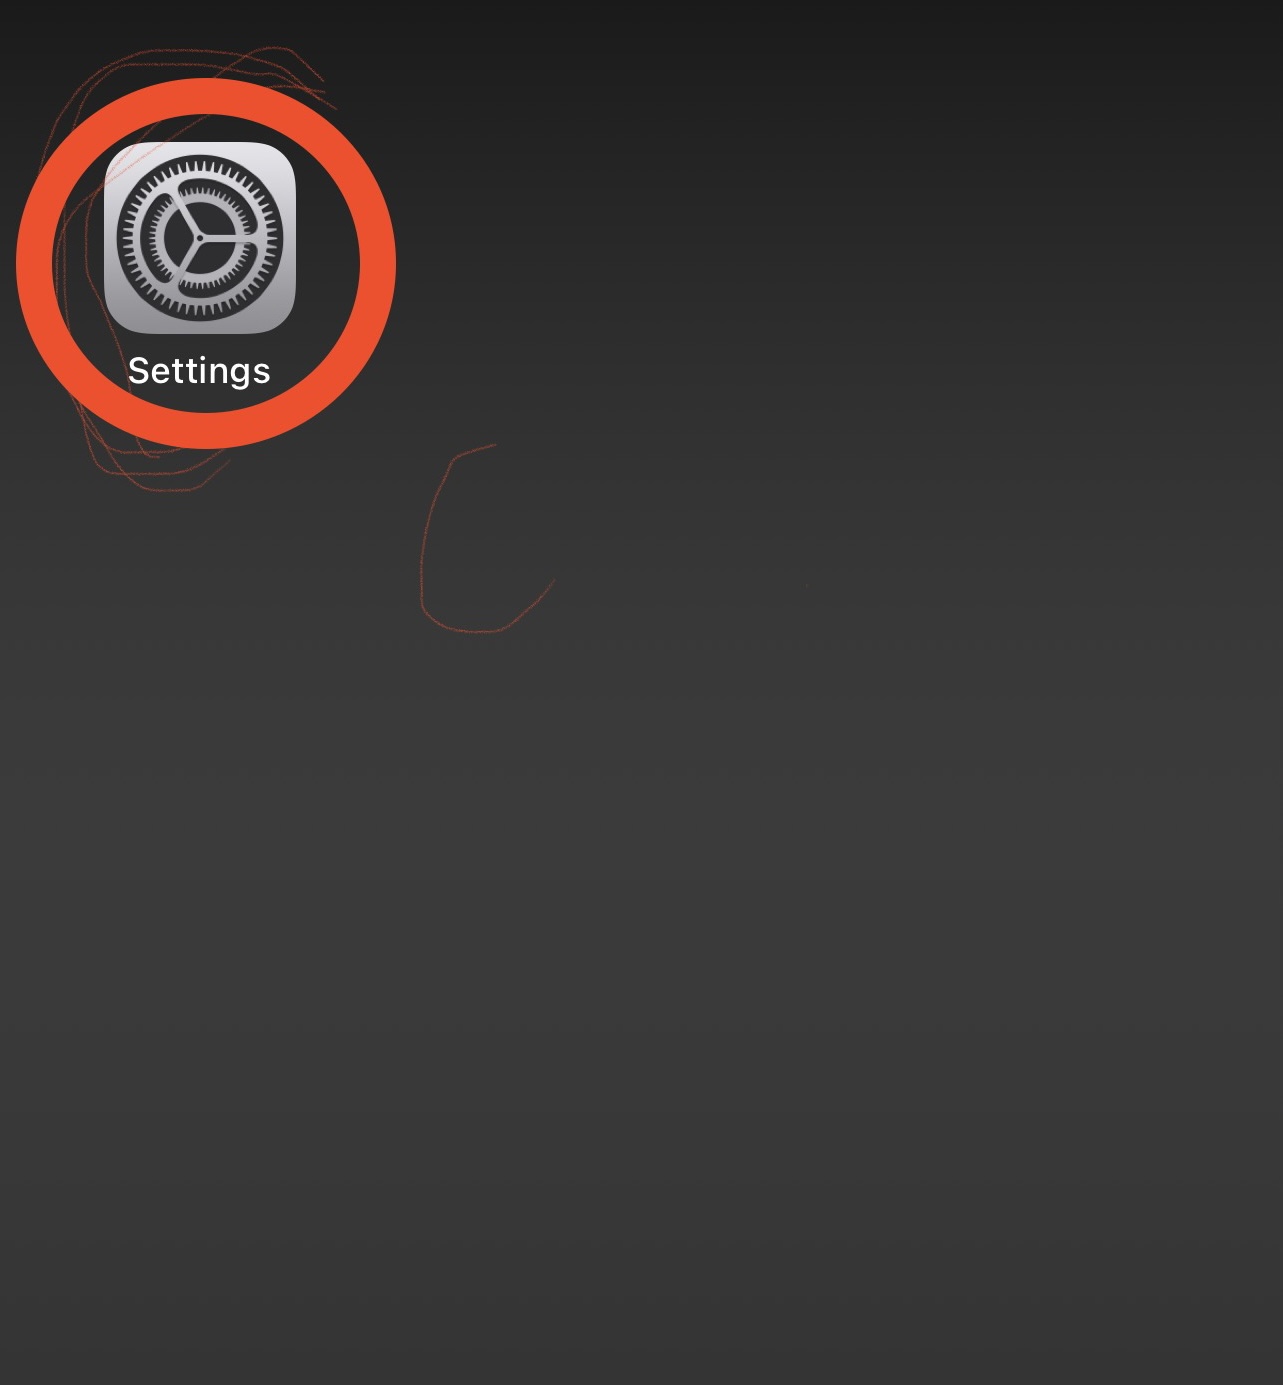
Open up your iPhone up and navigate to the settings app. It looks like this.
Step 2
Scroll down the endless list of apps and settings and click on the “mail” app within settings.

Step 3
Next up, scroll down the list and click on “accounts”.

Step 4
In this screen you’ll find all the accounts currently linked to your mail app (if there is any). For future reference you can alter account settings & remove accounts. Today we are interested in adding one.
With that in mind go ahead and Click “add account”.

Step 5
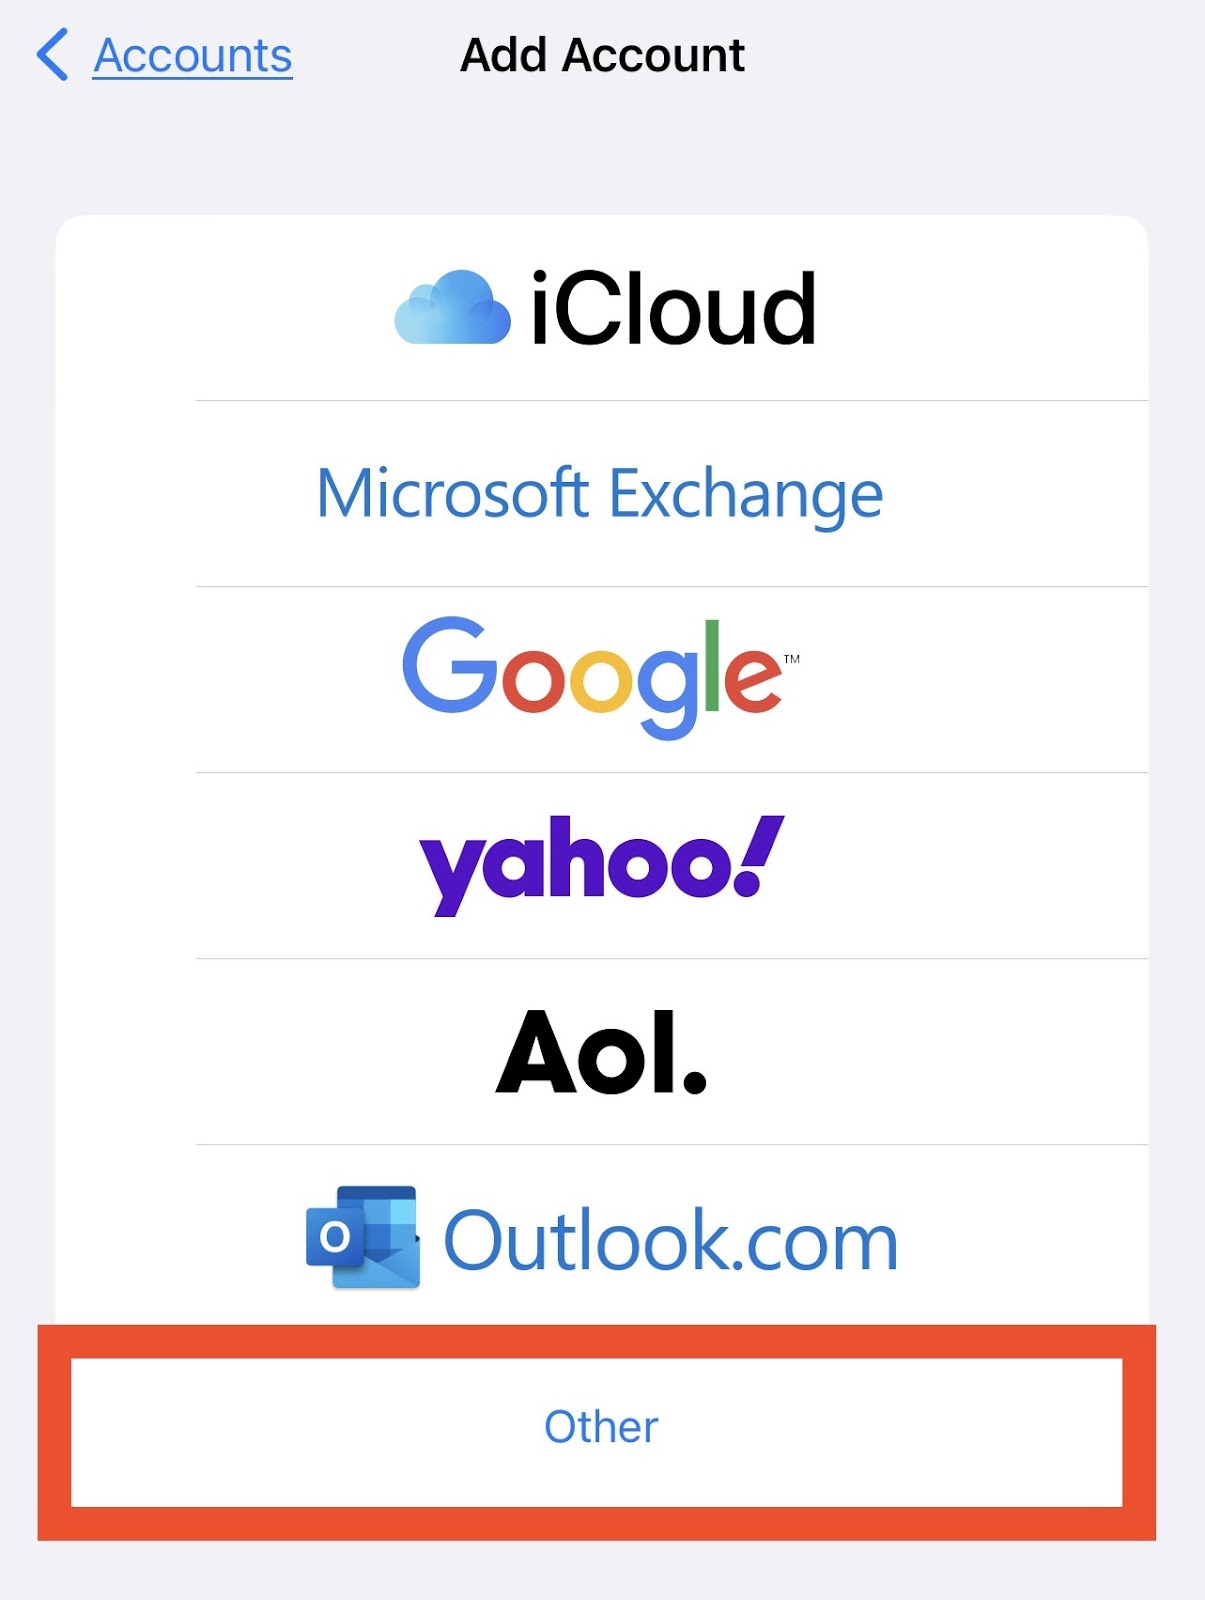
Here you can add a range of different accounts form different providers such as Microsoft outlook, gmail and aol with just an email and password. Since your email is IMAP and on shared hosting we need to add it manually. It’s really easy todo.
Go ahead and click on “Other” and proceed to the next step.
Step 6
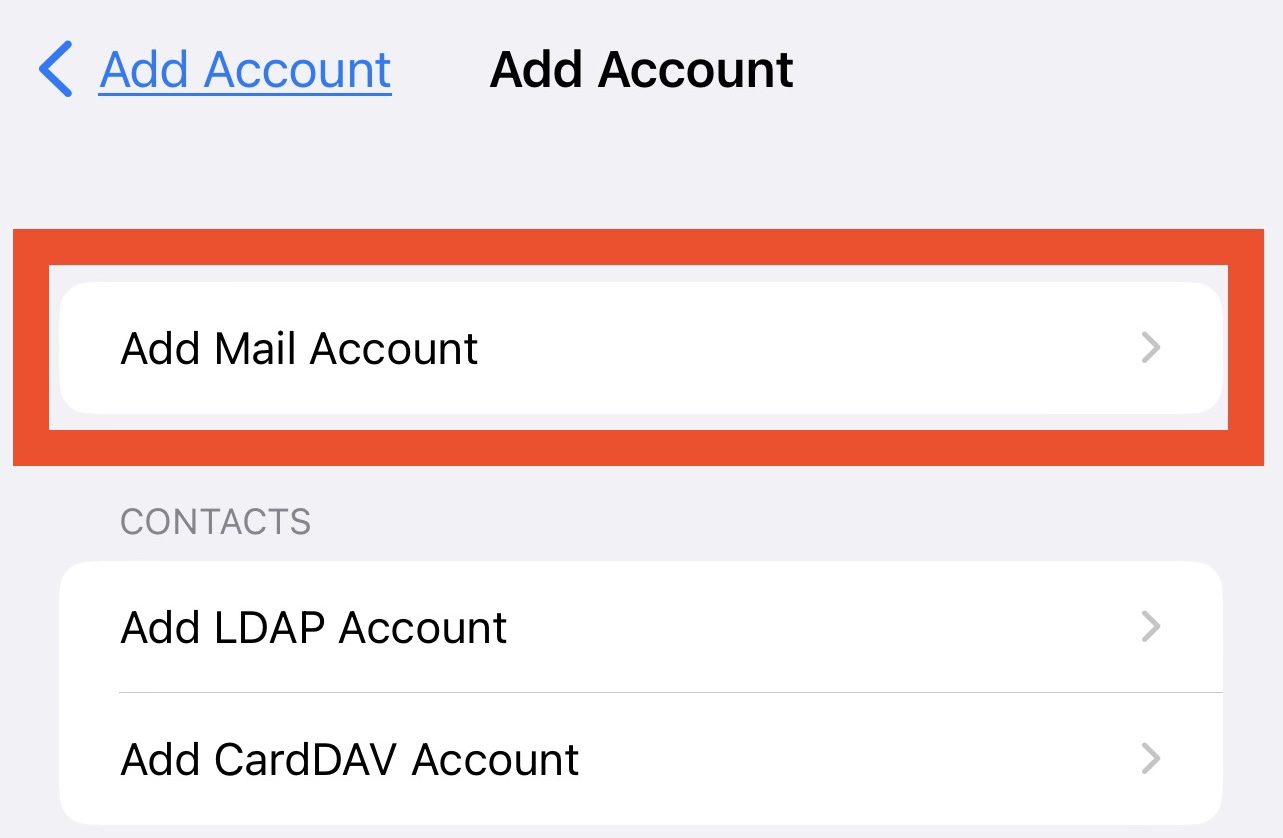
On this next settings page we need to click on “Add mail account”.
Step 7
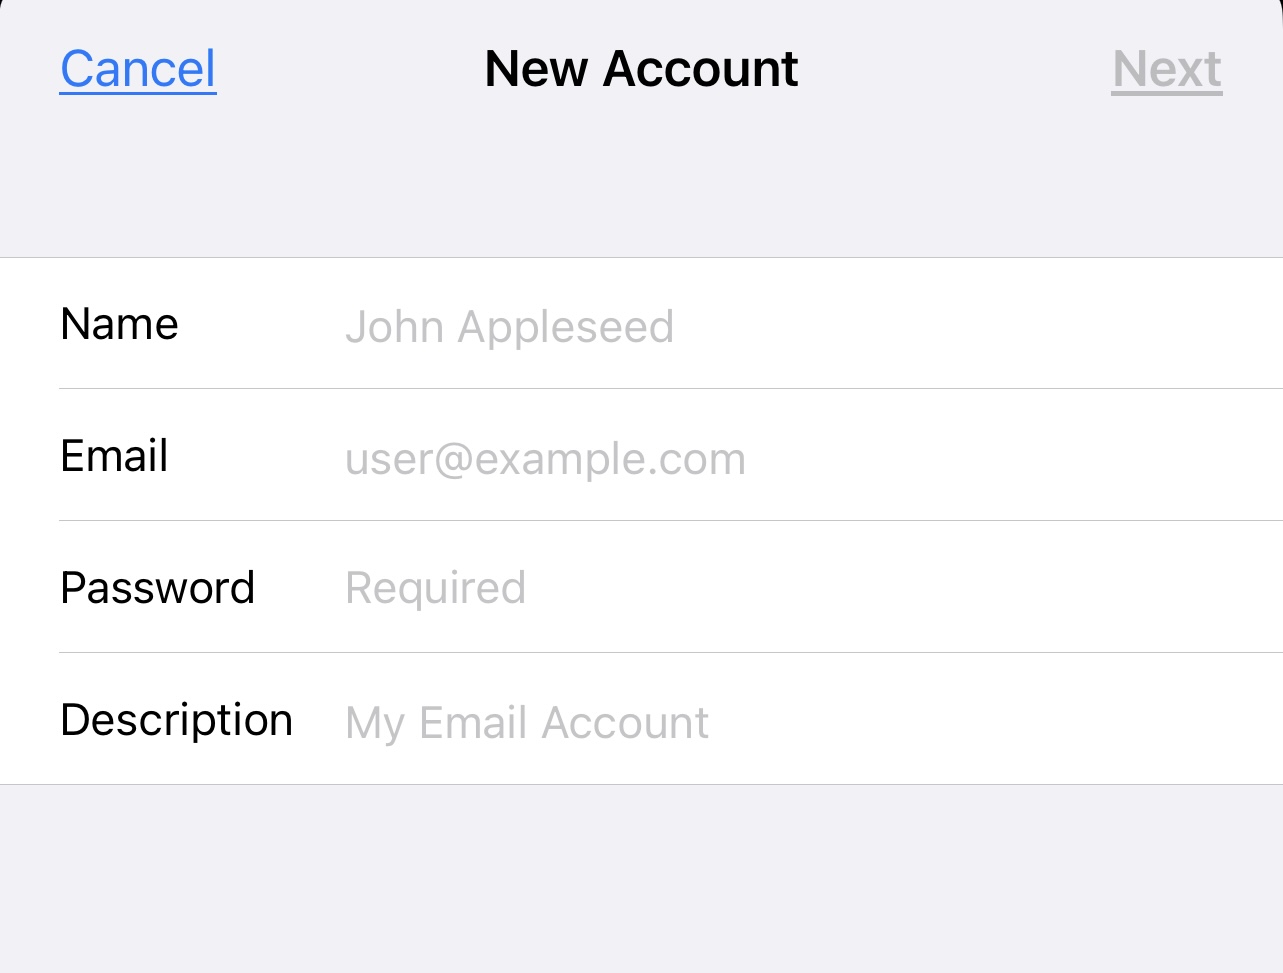
We now need to add a bunch of details to start setting up your email account. On this screen input your
- The name you wish the email to use.
- Email address
- Password to email account
- Description to describe the account
After you’ve filled out the below fields hit “next”
The app will try and auto set the mail details if it can, if not it’ll give you the chance to input them.
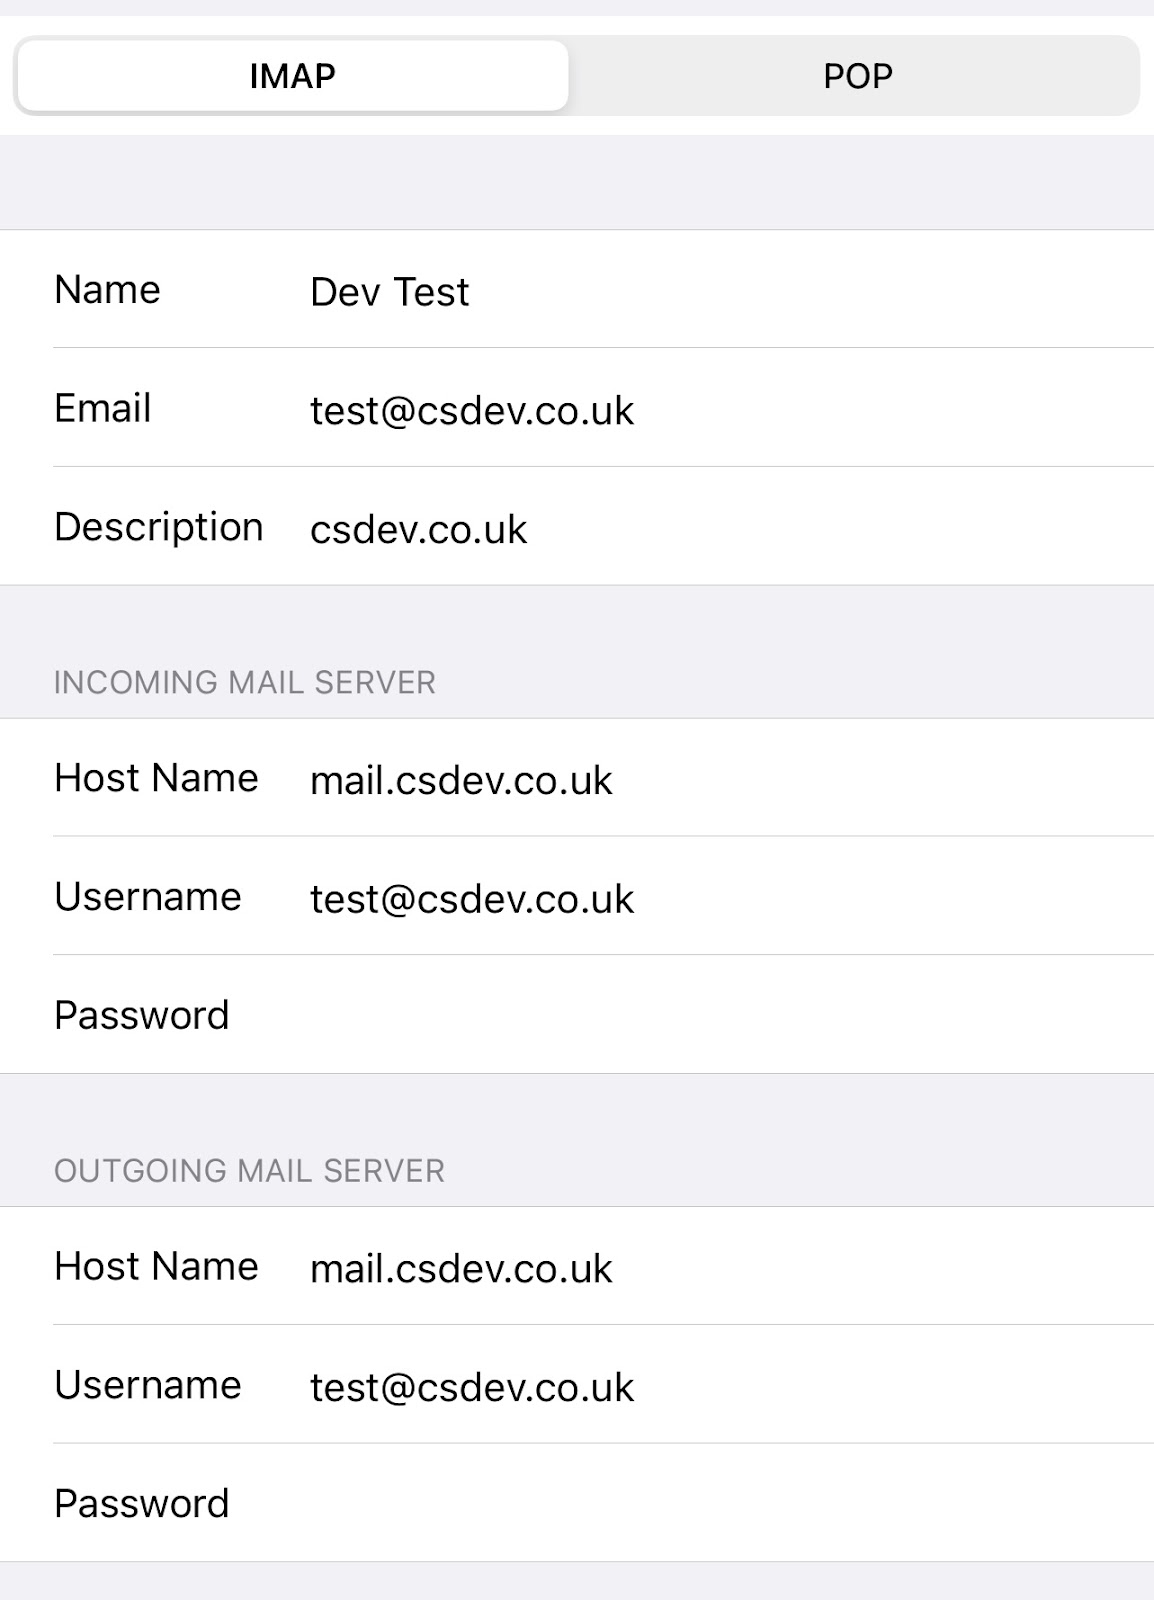
Step 8
Once you’ve inputted your details you’ll be greeted with the screen below, here we’ll input your settings and make sure everything is correct and matches what your developer or hosting company has given you.
Go ahead and populate the fields with the matching information,
Make sure to input passwords again and all URLs correct
Make sure IMAP is selected..
Once completed click “next” it will now verify your settings and if all is fine and it finds a connection you’ll advance to the next step.
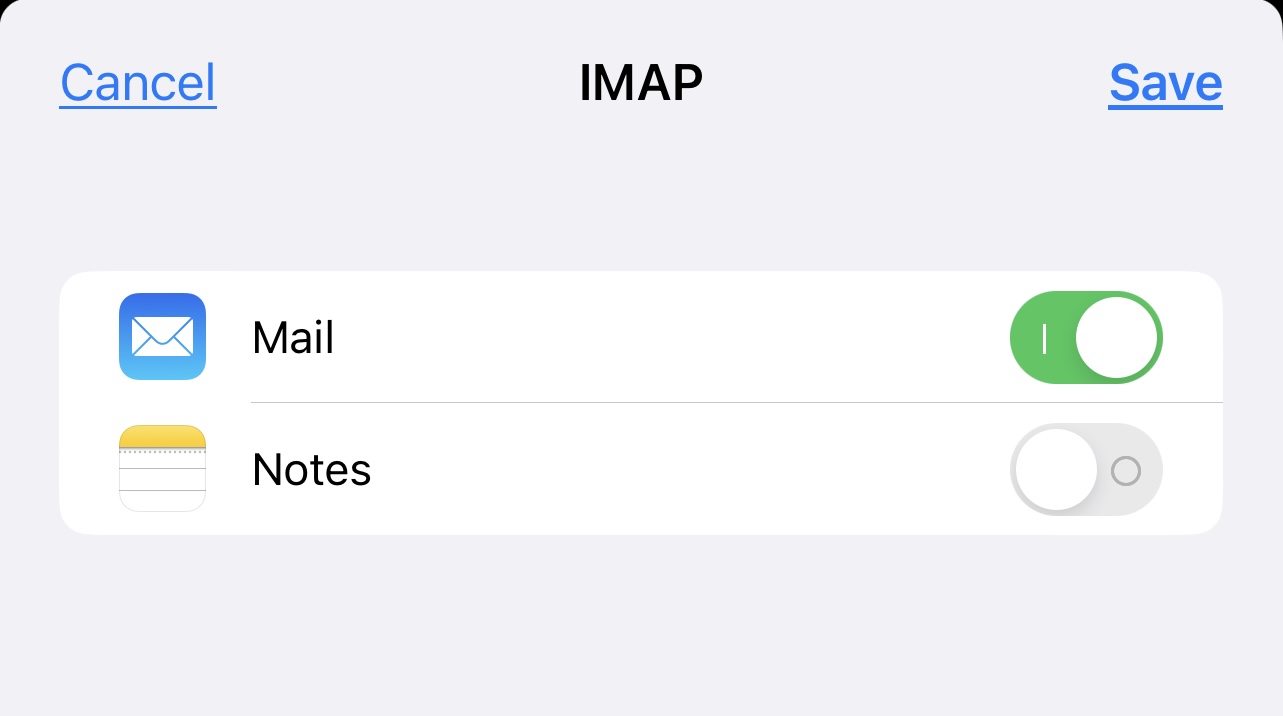
Step 9:
On the next screen make sure “mail” is selected and click next.
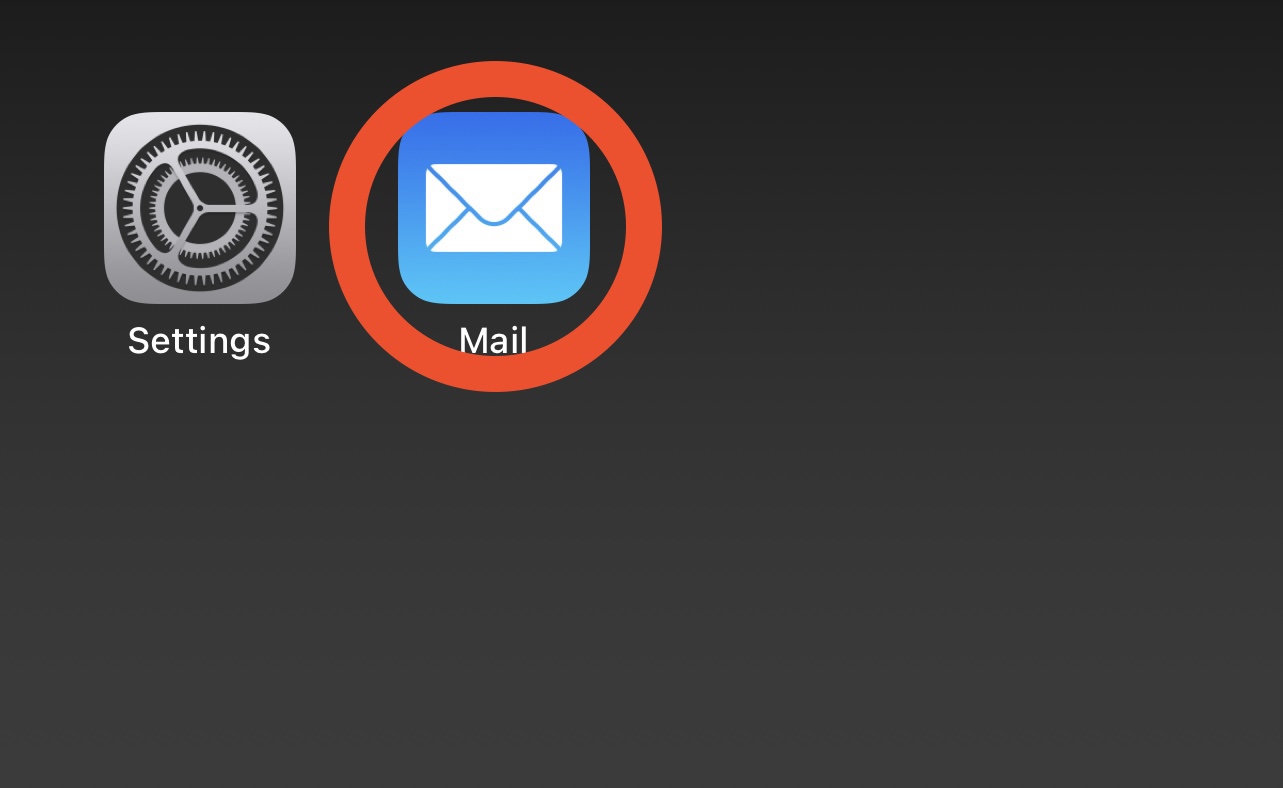
Step 10
Your mail box is now set up, we can now close down settings and navigate to the mail app it’ll look like this.
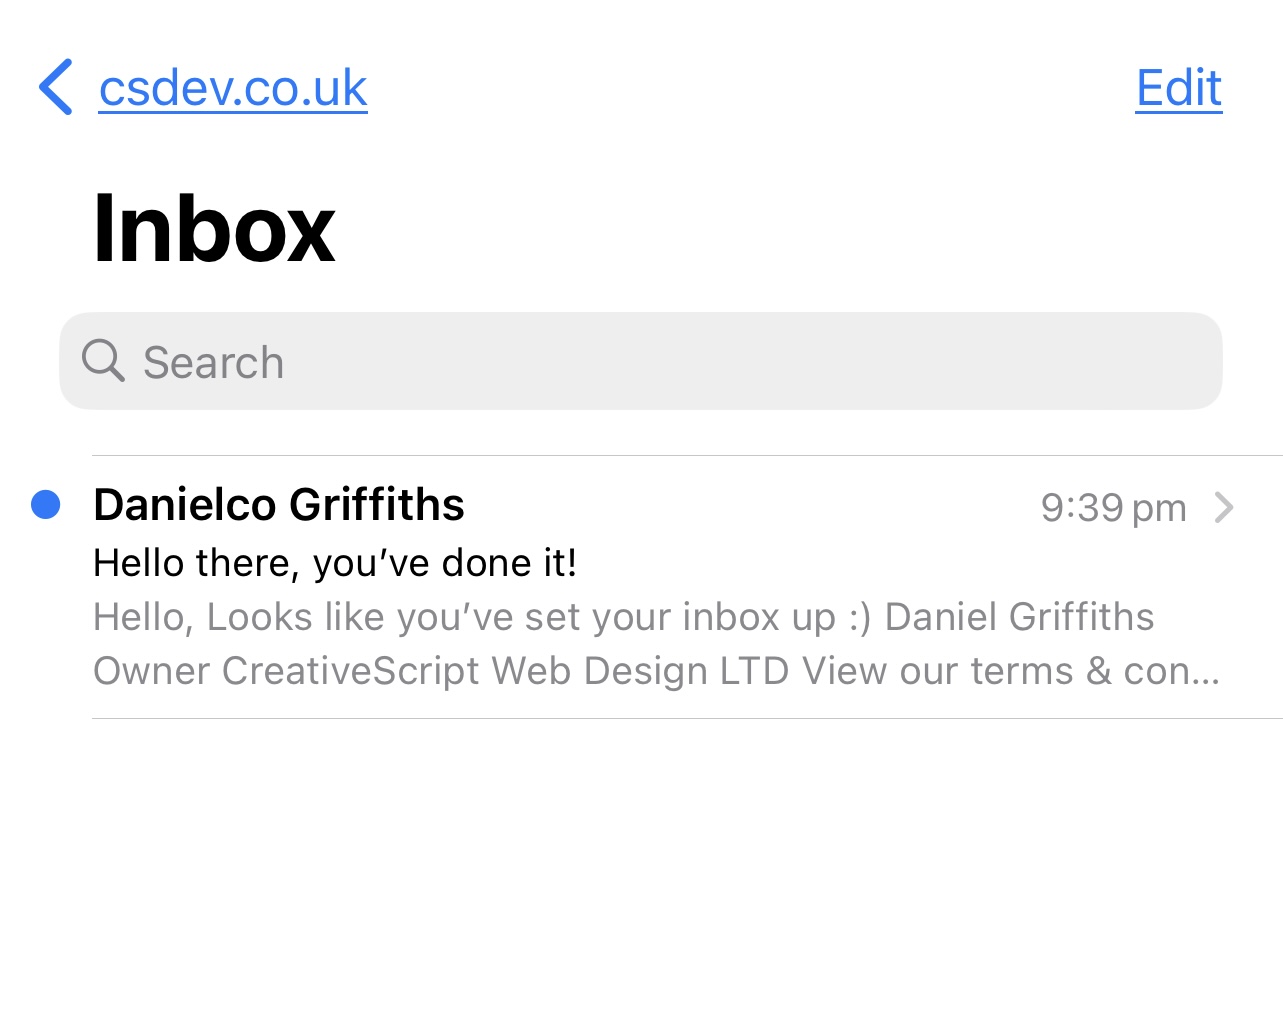
Step 11
It’s now a good idea to send yourself a test email from the another email and head to the mail app to see if it’s been received ok.
We also recommend sending an email from this account to another email address to make sure the sending server is set up correctly.
If you’ve received and sent all your tests successfully…
Congratulations! You have now set your email up on your phone and can now carry on running your successful small business from anywhere.
If things didn’t quite go to plan here’s a few things you can do to make sure.
- Double check you using the correct passwords
- Double check your using the correct server details
- Check for any spelling mistakes.
We’ve also published another blog called … check it out for more tips on debugging email problems.
Looking for an email provider?
If you are looking for basic email to get your business up and running Our cloud based hosting is perfect for startups and comes with email as standard. We’ll help you set up inboxes and configure them on your device, request a call to day and we’ll give you a call back to discuss more.
We hope you found this blog on how to set up your emails on your apple device useful if you need any more help please feel free to reach out to us.
